Interesting Tech Projects
Posts tagged fixtures
Creating Fixtures For a CNC Machine
Jun 14th
Fixtures are the method used to hold down workpieces, which are the items that will be cut. There are many different ways to do this and the following describes the method I have chosen.
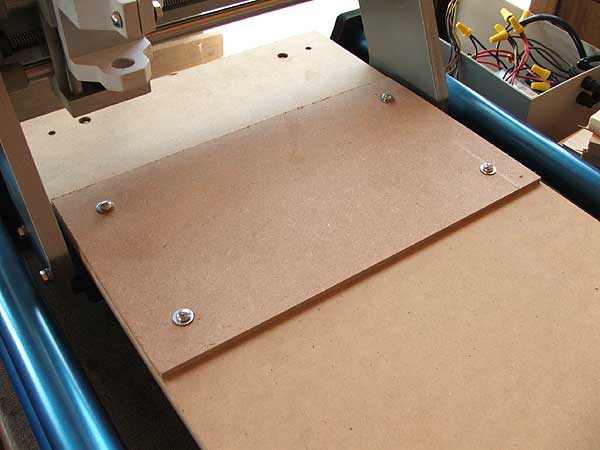
Once my CNC machine was assembled, the surface looked like this:
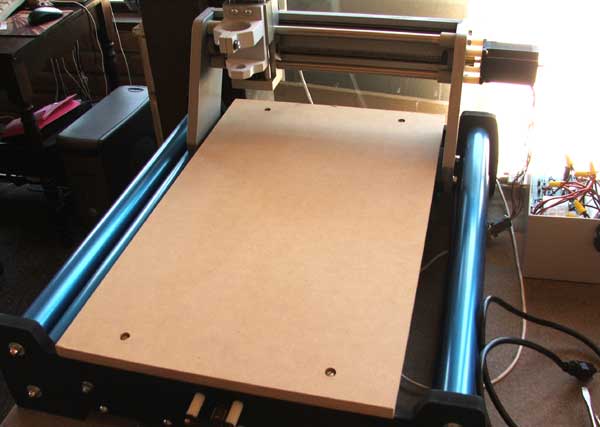
It is pretty much a piece of wood held down by four bolts. We can’t directly attach the workpiece to this surface however because when we cut all the way through the workpiece we will gouge the surface of the CNC machine. Therefore we need a sacrificial piece of wood in between. This sacrificial wood can be thrown away when it is no longer useful and replaced. In addition to using a method which allows the sacrificial wood to be easily installed and removed, it would be nice to allow different sizes of sacrificial wood.
The solution I used for this is a grid of holes which allow bolts to be used. I decided to use a row of five bolt holes down each side of the CNC surface, regularly spaced apart. The four corner holes are 1.5″ in from each edge. The remaining holes are spaced 3 gaps of 6″ and 1 gap of 5.5″ apart along the longest edges.
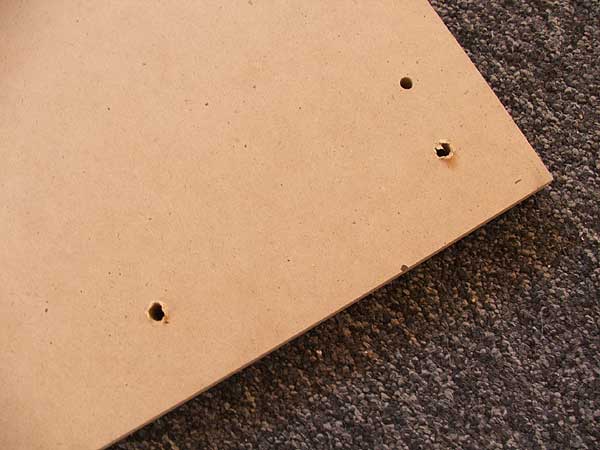
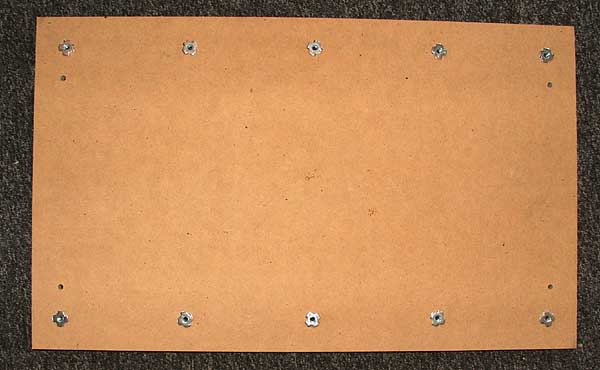
To drill the holes I used a 5/16″ wood spade bit. The next step is to attach 1/4″ – 20 x 5/16″ tee nuts. I achieved this by hammering them in. Attach the tee nuts to the underside of the CNC surface.
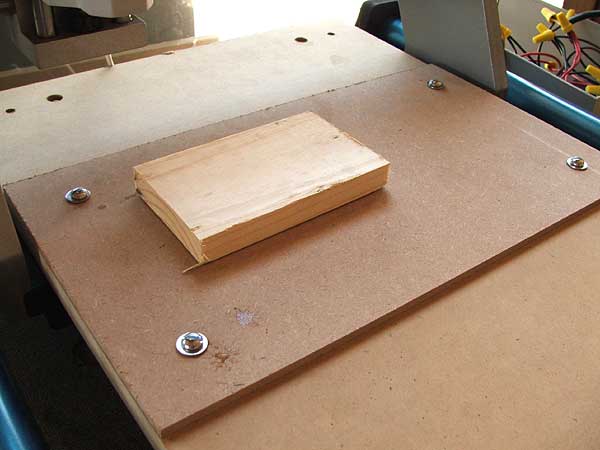
After reinstalling the CNC surface I cut a piece of sacrificial wood. I used scrap 1/4″ MDF from Home Depot. A sheet 4ft x 2ft cost me about $5. I cut the MDF down to 16″ x 9″ and drilled 5/16″ holes 1.5″ in from each edge (four holes in total). The MDF was then bolted down to the CNC surface using 1/4″ – 20 x 1″ bolts.
The final step was to use double-sided carpet table to fix the workpiece down onto the sacrificial wood.